What do I need?
The first thing that you must have to make wine is patience!
All good things are worth waiting for – How many times have you heard that? Well, the same can be said when making wine. It can be a slow process, sometimes more than a year to get the best results from your efforts. But once you start, you will soon be enjoying your own, lovingly prepared, crisp clear wine. You can tell your friends the story of ‘How I picked the fruit from my own garden to make this’.
Before we go through the process of how you can make your own, we have a few pointers for you.
Do make sure that all your equipment is clean before you start. We don’t mean that it has to be operating theatre sterile, we mean that if you would be happy to eat your food out of it, then it’s clean enough to make wine with.
Do follow the recipe steps. They are tried and tested and will give good results if followed correctly. If we say to use a certain type of yeast, your wine will be all the better for using it!
Do wait until the wine has time to mature. We know that it’s all very tempting to start drinking your wine as soon as it looks clear. Trust us, if you can put your wine away for the length of time that we suggest, it will taste better for it.
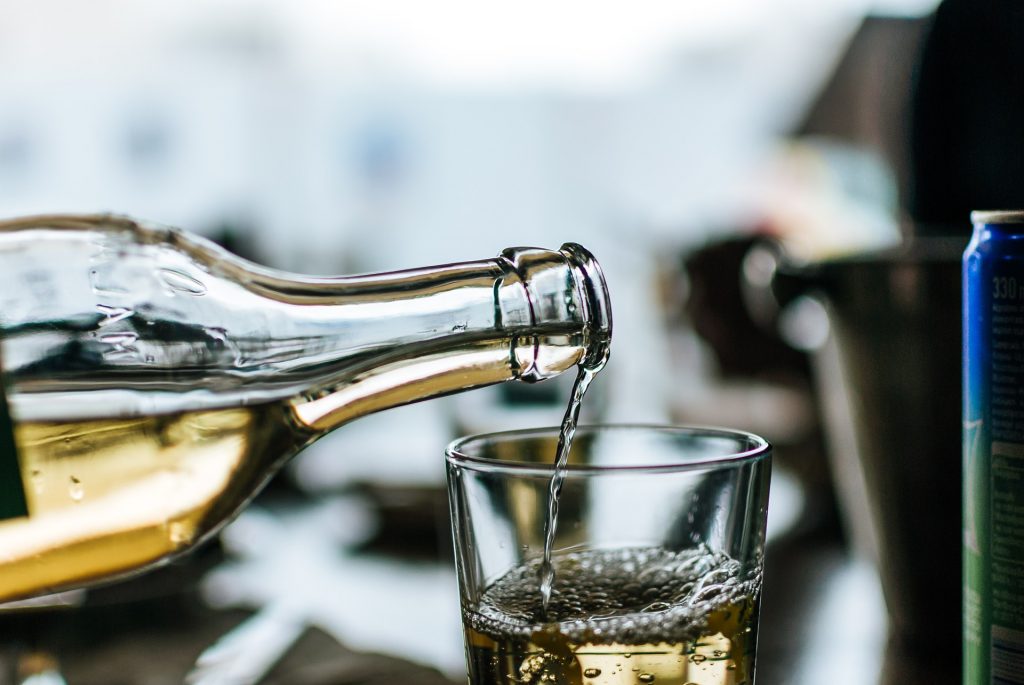
The Wine Making Steps
Make a yeast starter. We make a yeast starter in advance of starting the wine making process. The yeast starter will have at least a 24 hour period in which to start growing and mutiplying. By the time your gallon of liquor is ready to start the fermentation process, the yeast will already be active and will start the fermentation process going quicker than if you were to just add the yeast to the fermentation bin. Some older methods, which you have probably heard of, would have the yeast floating on top of a slice of bread. This would then absorb the liquor slowly and eventually let the yeast fall into the liquor to start fermenting.
Prepare your Fruit, Flowers or Vegetables (or whatever you’re making your wine from). Preparation is key to the initial steps of making wine and is different depending on what we are making our wine from. We will state what preparation is required for each recipe – washing, peeling, chopping, dicing, mincing, crushing etc.
If making wine from vegetables, we follow a process to extract the vegetable flavour prior to the start of fermentation. This would normally mean that the vegetables have to be boiled as they do not readily break down and impart flavour or colour without doing so.
If making wine from flowers, this would be a more gentle process to extract the flavour and the colour for the start of fermentation. We would use a cold water extraction to do this. It is possible that the flowers would have a natural yeast already present on them. To stop an initial fermentation taking place with this natural yeast, we would suppress this with the addition of a campden tablet (sodium metabisulfite).
If making wine from fruit, we would want to extract the juice from the fruit but leave the skins and pulp in the liquid to add the colour to the liquor. At some point during the fermentation process, we would remove the liquor from the pulp and allow the fermentation to continue.
The addition of Sugar to the liquid. Sugar is added to the liquor as it is the main component of alcohol production in fermentation.The yeast will convert the sugar to equal parts carbon dioxide and alcohol. When the alcohol reaches a certain level or all of the sugar is converted, the fermentation process will cease.
Inititial fermentation takes place in a plastic or stainless steel bin. The liquid has to be cool enough so as not to kill the yeast when it is added. The initial fermentation will continue to extract colour and flavour from whatever we are making the wine from.
Secondary fermentation usually takes place in a glass jar or demijohn. The liquor is strained off the pulp using a mesh filter. This then leaves the fermenting liquid to complete the process of converting the remaining sugar to alcohol, until the desired specific gravity is reached.
Stopping fermentation. When the wine has either stopped fermenting on its own or your desired specific gravity has been reached, the fermentation process can be stopped. This is done with the addition of a crushed campden tablet (sodium metabisulfite) which will ‘kill’ the remaining active yeast and start the clearing process. The yeast will form a sediment at the base of the wine.
Clearing the wine. Transferring the wine off the yeast sediment into a clean jar or demijohn will start the clearing process. Most wines will clear naturally, some may need additional filtering.
Maturing the wine. This is where patience comes into play, as we said at the very start of the overview. Your wine will get better over time and you will learn how important this is.
Top Wine Making Tips
Take a specific gravity reading of your wine both at the start and at the end of the fermentation. The difference between the 2 will allow you to work out the alcohol by volume (abv) or strength of the wine. There is a chart in most hydrometers that you can use to do this.
When your wine is clearing having finished its fermentation, transfer the wine to a cooler environment. A cooler area will help to clear the wine quicker. This should be at a temperature around 55F / 13C
When bottling your wine use dark (not clear) glass wine bottles. This is to protect against the sunlight as it will ‘bleach’ the wine over time.
Taste your wine when it is getting towards the end of the fermentation process. You may want to stop it fermenting all of the sugar which will make the taste more ‘tart’. Start tasting at an SG around 1005. Letting it ferment to an SG of 990 will have converted all of the sugar.
When fermenting wine, never let it get too hot as this may ‘kill’ the yeast. Allowing the fermenting wine to get cold will slow the process down until the temperature is raised again. The optimal temperature for fermenting home made win is between 65F / 18C and 75F / 24C.
Use a wine yeast and not a bread yeast. Bread yeast is is not designed to withstand the high tolerances of alcohol production. Your wine will stop fermenting before it really starts if you don’t choose a wine yeast.
Adding more wine yeast will not increase the amount of alcohol in the wine. There are different processes that are used if you want the wine to have a much higher alcohol content. We do not cover that on this site, we are more interested in the flavour and taste of the wine.